
How to Create a Sign Mockup on a Building Photo
 Jack KellyCo-Founder, Vuely
Learn how to create a sign mockup on a building photo with accurate scale and perspective to close more commercial sign deals during the quoting stage.
On this page
To learn how to create a sign mockup on a building photo, you need a high-quality site survey image, physical reference measurements to establish a pixel-to-inch ratio, and software to composite your vector artwork accurately onto the facade. This process translates a flat design into a scaled, real-world visual that helps clients understand exactly what they are buying before they commit to an order.
Commercial sign shops typically close only 20 to 30 percent of competitive bids over $5,000. Spending 45 to 90 minutes hand-compositing an elevation in standard design software for every unpaid pre-sale proposal quickly erodes a shop's profit margin. By standardizing your mockup workflow, estimators and project managers can deliver convincing presentation proofs rapidly, secure client buy-in, and prevent costly fabrication errors without tying up the design department.
Capture High-Quality Survey Photos
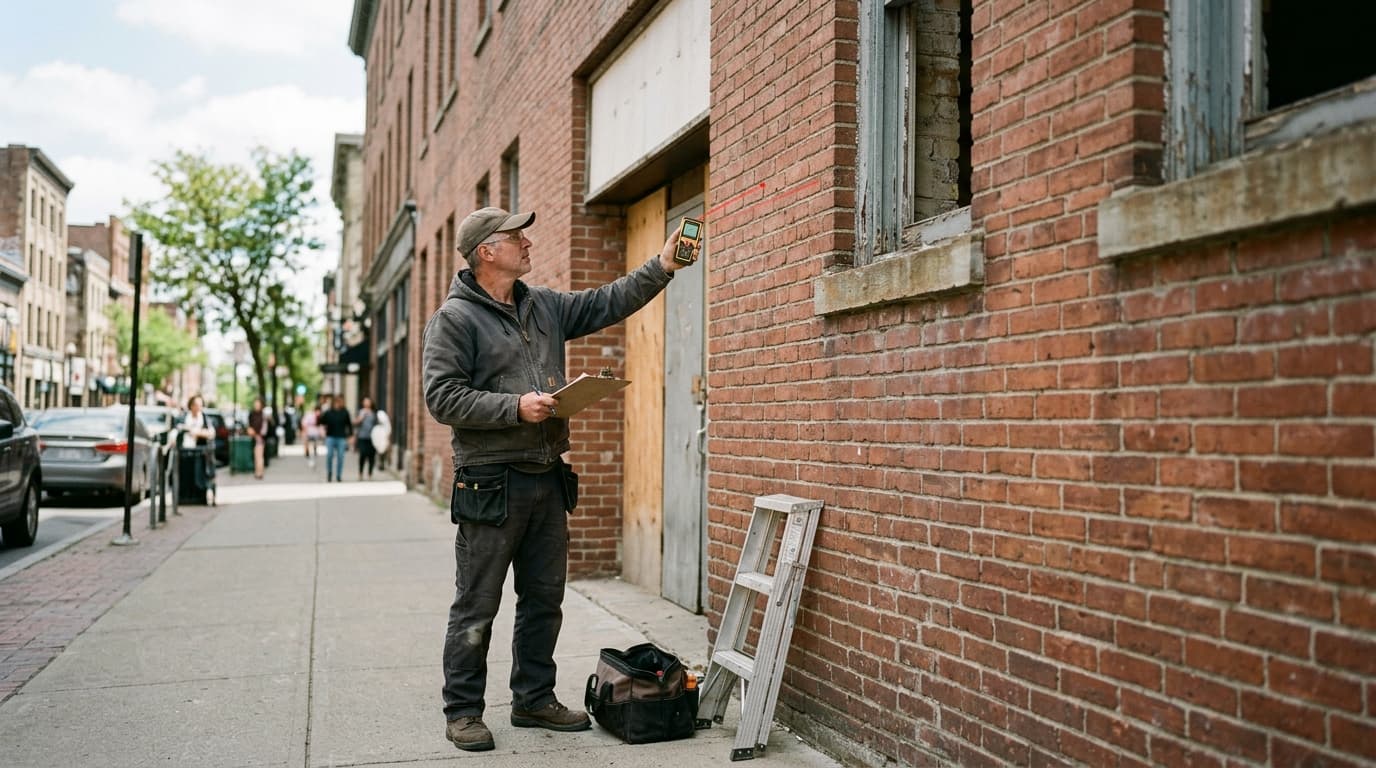
The foundation of an accurate mockup is the site survey. A typical on-site survey requires 1.5 to 3 hours including drive time, costing shops $100 to $250 or more in labor per trip if not explicitly billed. You must capture the right images on the very first visit to avoid sending a crew member back to the site.
Always photograph the building facade straight on. Standing at an extreme angle introduces parallax distortion, making it incredibly difficult to accurately map flat vector artwork onto the wall later. Schedule surveys during daylight hours to ensure the camera sensor captures maximum resolution and substrate texture. A grainy, low-light photo makes edge detection difficult during the background removal process.
Pay close attention to physical obstructions that could interfere with the sign installation. Raceways, conduit, uneven brickwork, EIFS trim, and security cameras need to be clearly visible in your base photo. Follow these specific field guidelines to ensure your photos are ready for rendering:
- Use a normal focal length: Wide-angle lenses on mobile phones distort straight architectural lines at the edges of the frame.
- Stand dead center: Position yourself directly in front of the primary installation area to prevent perspective warping.
- Include the ground: Show the sidewalk or entry doors to give the client a sense of human scale.
- Document obstructions: Take close-up photos of the substrate, existing electrical access, and protruding architectural elements.
- Use a reliable checklist: Standardize your field data collection using a structured signage site survey checklist to ensure reps never miss critical measurements.
Establish True-to-Scale Calibration
Generic web template generators treat mockups as decorative art, simply dropping a logo onto a canned stock storefront. Sign shops cannot operate this way. You need true-to-scale calibration to verify physical fit against the actual building and to provide your estimating team with accurate dimensions for pricing materials.
To scale your vector artwork properly, you must translate real-world dimensions into the pixel space of your digital photograph. The most reliable method is measuring a prominent, fixed architectural feature in the field. Equip your reps with laser measures rather than relying solely on fiberglass tapes, which sag over long distances. Shoot the laser from the ground to the bottom of the proposed sign band, then to the top of the parapet wall. Record these vertical reference points clearly on your survey sheet.
If a field measurement is missed, you can rely on standard dimensional scaling anchors found on commercial properties. Standard commercial exterior doors are typically 84 inches high by 36 inches wide. Standard brick course heights measure approximately 2.67 inches per brick, meaning three courses equal roughly 8 inches.
Using these anchors allows you to estimate a pixel-to-inch ratio with enough accuracy for a conceptual rendering. Once your scale is set, you can drop your channel letters, cabinet sign, or dimensional letters into the scene. An accurate scale ensures a 24-inch letter height in your production file actually looks like a 24-inch letter on the mockup, preventing situations where a client approves a design that is physically impossible to manufacture or install.
How to Create a Sign Mockup on a Building Photo Using AI
The fastest method for sign company estimators is utilizing AI sales software to handle the heavy lifting. The workflow begins the moment a rep arrives at the customer site. The rep captures the survey with photos and measurements directly in the application, utilizing guided survey checklists to ensure consistency across all jobs.
Instead of sending photos back to the shop for manual processing, the software generates a photo-accurate mockup of the sign on the customer's actual building immediately. These platforms handle AI-assisted scaling, instantly matching the vector artwork to the physical dimensions recorded during the survey. You can generate instant AI mockups for multiple sign types, allowing for unlimited iteration on the spot.
This automated workflow drastically reduces the historical 45 to 90 minutes of manual compositing down to seconds. While the mockup is rendered, Vuely checks the design against the local city sign code and provides an estimated price based on shop parameters.
By handling the photo rendering, code compliance, and pricing estimation simultaneously, estimators do not have to manage disconnected tools. Reps can present a one-click proposal and collect an on-site e-signature before they even leave the property. You can review the impact of this speed on your overhead by visiting our pricing page.
Traditional Manual Compositing Techniques
For shops not using AI generation, hand-compositing an elevation in standard design programs like Photoshop requires specific techniques to achieve realism. The first step is often removing an existing sign from the building facade. Designers typically use the Content-Aware Fill or Remove Tool to clone the surrounding brick or stucco over the old signage, creating a clean slate for the new artwork.
Next, you must place the new sign. Always convert your vector artwork from Illustrator or CorelDRAW into a Smart Object before pasting it into your photo editor. This protects the original resolution if you need to scale the design up or down. Use the Free Transform or Perspective Warp tools to align the artwork with the architectural vanishing points in your survey photo.
To integrate the sign with the physical environment, utilize clipping masks. If a conduit pipe or architectural column sits in front of the proposed sign location, you must mask out the overlapping areas of your vector artwork so the sign appears to sit behind the physical obstruction.
Illumination simulation is the most challenging aspect of manual rendering. To convincingly show face-lit or halo-lit channel letters at dusk or night, you cannot simply use a daytime photo. You must drop the background exposure roughly 40 to 60 percent using curve adjustments. Add layer styles to your Smart Object, applying drop shadows for daytime depth or outer glows for nighttime halo effects. Set the blending mode of your glow layers to Linear Dodge or Screen to make the light interact accurately with the wall texture.
Verify Municipal Sign Codes
A beautiful mockup is completely useless if the local municipality rejects the permit application. Project managers must verify physical scale and site constraints against municipal codes before presenting any visual proof to a client. Selling a sign that you cannot legally install damages your shop's reputation and wastes valuable estimating resources.
City sign codes dictate strict rules regarding allowable square footage, overall height, illumination types, and placement relative to property lines. Some municipalities prohibit exposed neon or halo-lit letters entirely, while others restrict cabinet signs in historic districts. Always reference the specific zoning map for the installation address.
If you operate manually, your estimators must pull the local ordinances and calculate the facade square footage to confirm the mockup fits within the legal limit. You can use a dedicated sign code checker to streamline this research phase. Alternatively, modern sales software automates this step. For example, Vuely checks the proposed design against the local city sign code directly during the AI mockup generation phase to ensure immediate compliance.
Presenting the Proof to the Client
Once the visual rendering and code checks are complete, you are ready to present the proposal. The goal of this presentation is to help the client visualize their brand on the physical property, not to provide engineering specifications. Standard industry contract language legally designates mockups as Conceptual Renderings Only.
Final fabrication sizes are strictly governed by structural shop drawings and municipal permits to mitigate contractor liability. You must include clear disclaimers on your presentation proofs stating that dimensions, colors, and placement are approximate and subject to change based on final field measurements and city approval. Never guarantee that a conceptual mockup perfectly represents the final fabricated product.
When you present the proof, focus on the commercial value of the signage. Show the day and night views, explain the material choices, and walk them through the estimated pricing. Providing a professional, true-to-scale visual proof builds immense trust and significantly increases your chances of closing the deal. Learn more about how to close signage deals instantly with mockups to improve your overall sales pipeline.
Sign codes change and vary by zoning district and overlay. Confirm with the authority having jurisdiction before submitting a permit.
Frequently Asked Questions
How do I scale a sign accurately on a photo without an architectural elevation?
Use known physical reference points in your survey photo to establish a baseline measurement. Standard commercial exterior doors (84 by 36 inches) or standard brick courses (2.67 inches per brick) provide reliable anchors to calibrate your software's pixel-to-inch ratio for the artwork.
What is the easiest way to remove an existing sign from a building facade photo?
In traditional software, designers use content-aware fill tools or clone stamp brushes to paint over the old sign with the surrounding wall texture. AI sales software designed for sign companies automates this tedious background removal process immediately during the initial rendering phase.
How do I realistically show halo-lit channel letters at night?
To simulate nighttime illumination on a daytime survey photo, reduce the background image exposure by 40 to 60 percent. Then, apply screen or linear dodge layer blending modes behind the vector artwork to accurately mimic the bright glow of LED modules against the wall.
Can a client approve a sign mockup for immediate production?
No. Standard industry practice requires mockups to be clearly labeled as conceptual renderings only. You must generate structural shop drawings and secure municipal permits before cutting metal. This strict process protects your shop from legal liability if site conditions require physical adjustments.
Which software is best for creating commercial sign mockups?
Generic photo editors require extensive manual masking and perspective warping to produce realistic visuals. Dedicated sign making software combines site survey capture, accurate dimensional scaling, and local municipal code checks to produce reliable, customer-ready presentation proofs in a fraction of the time.
See Vuely on your own storefront
Site surveys, instant mockups, and ready-to-sign proposals in minutes.